For my final, I wanted to build on the concepts that we learned when doing the Multiple Self Portrait Project. I had the most fun doing that project all semester and wanted to come up with a way to elaborate on that. I decided on continuing with that concept but also combining each of the “selves” with cinemagraphs. So with each version of myself that I take a photo of, they will each have a corresponding action.
Hour one: Planning
I knew that I wanted to change things up from my previous multiple self portrait, so I tried to come up with spaces that there are many actions that one could do.
During this brainstorming process, I came up with several locations and several things that one could do at each of them. 
Hour two: Gathering props
One of the locations that I wanted to go to for pictures was Chatham Manor. I thought it would be fun to show a scene of people having a picnic together. Ultimately, I decided on bringing snacks, playing cards, a book, some sunscreen, and some different sweaters and shirt combinations for all of the versions of me to do while on this “Picnic”.
Hour Three: Going to Chatham
One Friday afternoon, it was super pretty outside so I gathered all of the props and my friend Becca and we headed over to Chatham to have ourselves a “picnic”. I had Becca take the photos for me so that I could reposition myself as needed. We topped off the afternoon with a trip to Carl’s, a Friday afternoon essential.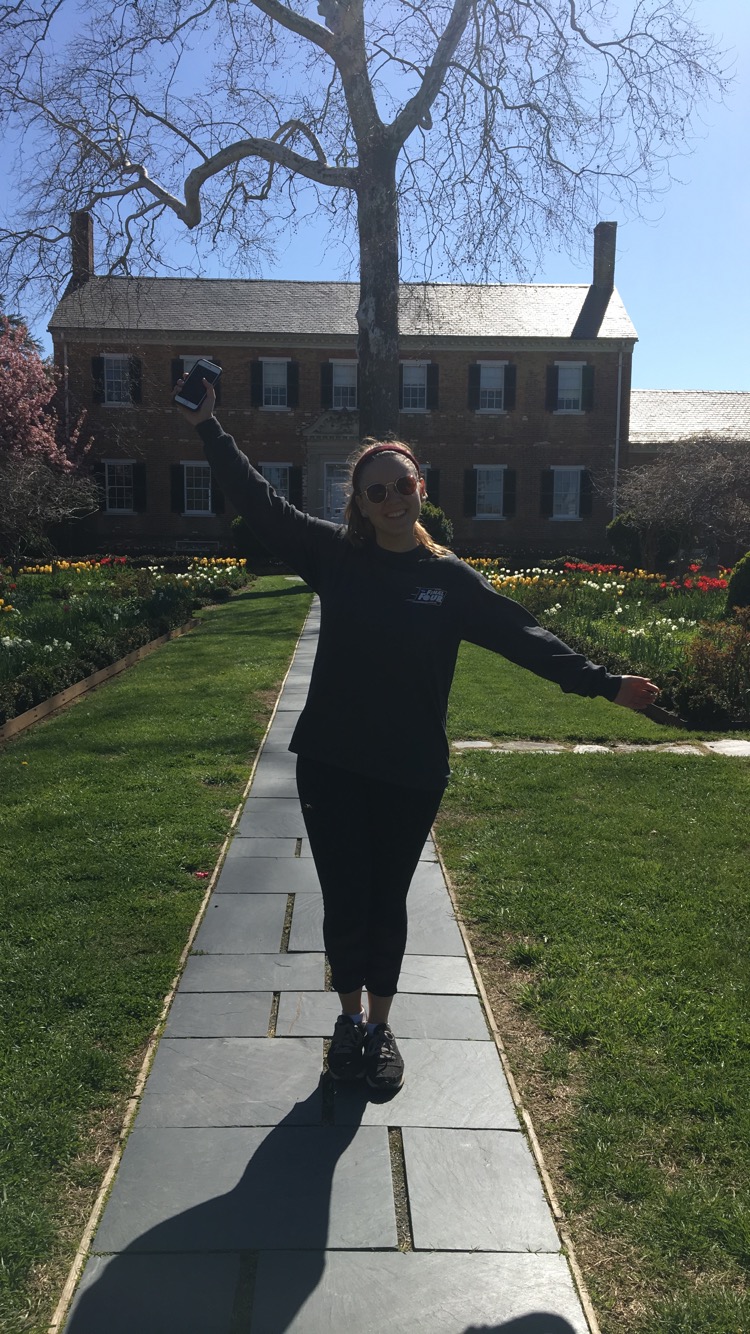 Hour Four: Uploading and sorting through photos
With each position that I took photos in, I had Becca use Burst mode so that it would capture the movement taking place. They were somewhat hard to see with the sunlight outside, so I was able to sit down and look at them more easily on my computer when I came home. 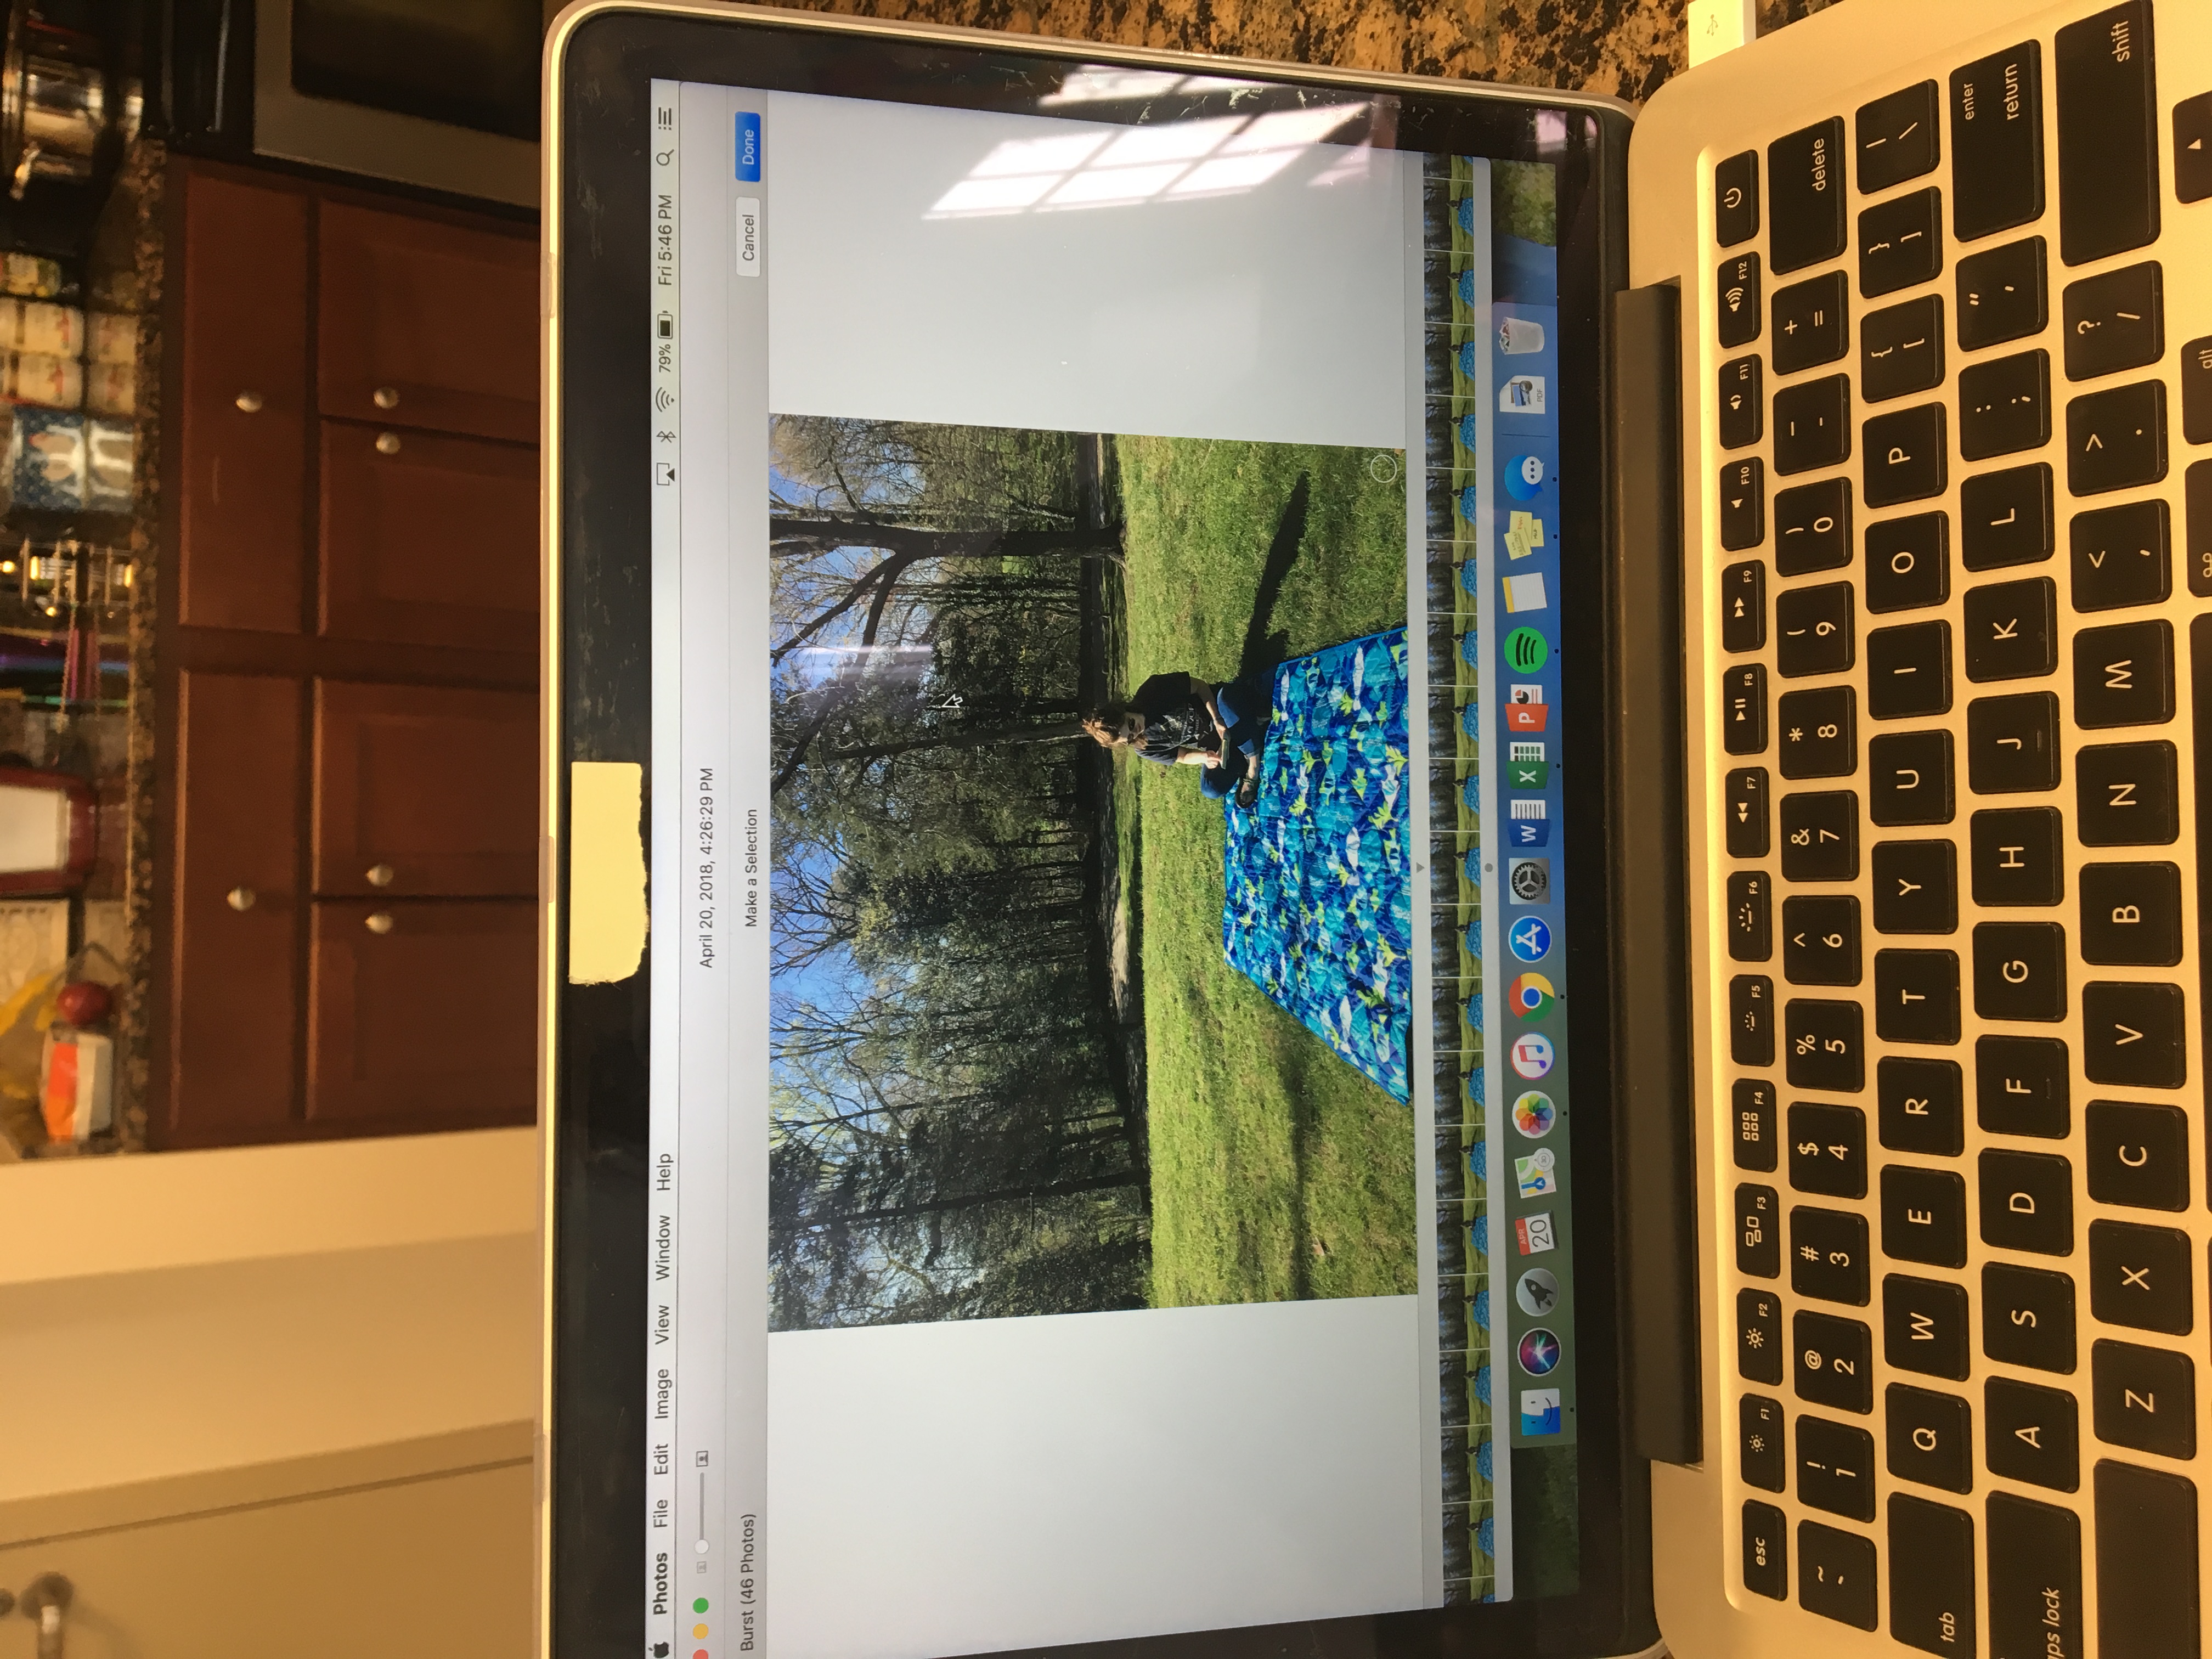
Hour Five: Moving photos to a folder on the USB and beginning Photoshop
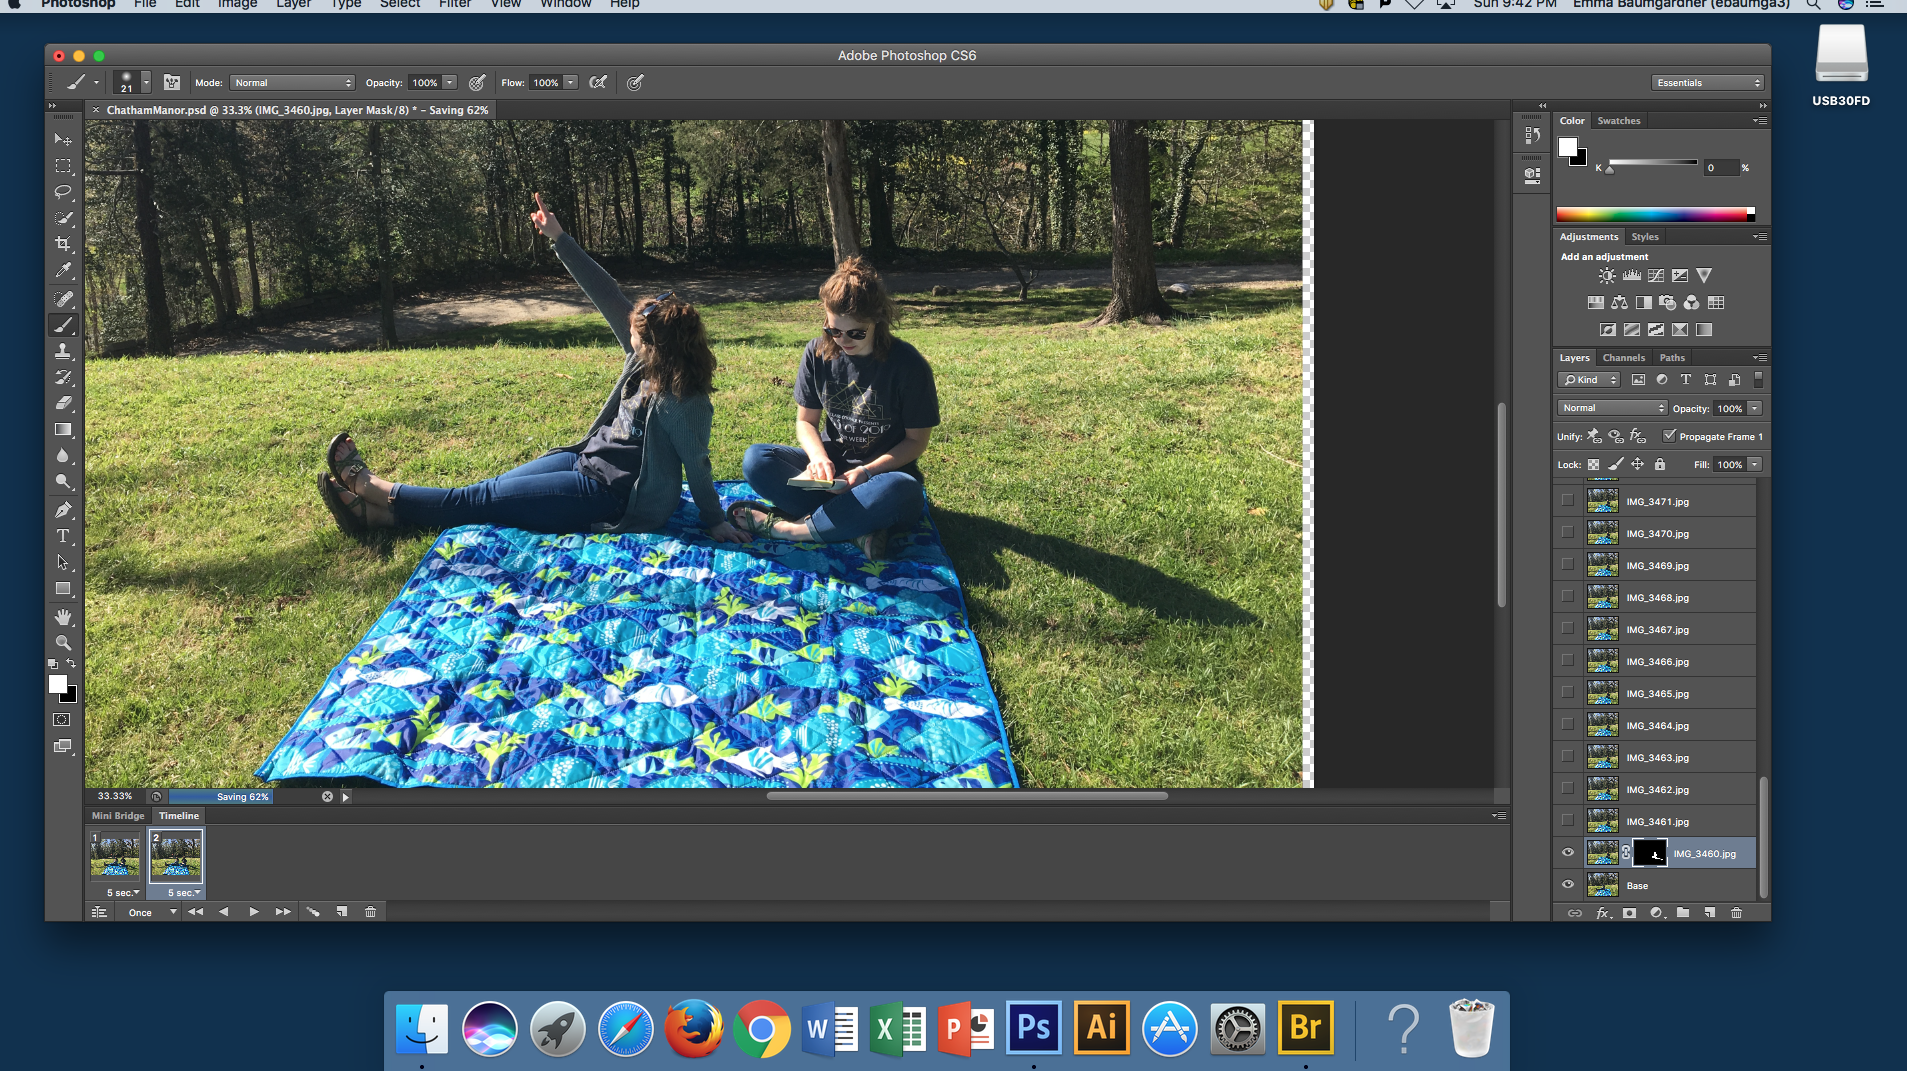
After moving all of the photos from my phone to my computer and then ultimately onto my USB, I was able to go to the lab and start working on the actual photoshop portion of the project. Aligning each of the layers took an extremely long time, but then the masking was able to begin! This one was a bit more tricky since it was sunny out, I had to be more mindful of the shadows that each image was casting. I masked the first “me”, which is the one sitting and reading.
Hour Six + Seven: Organization and more planning
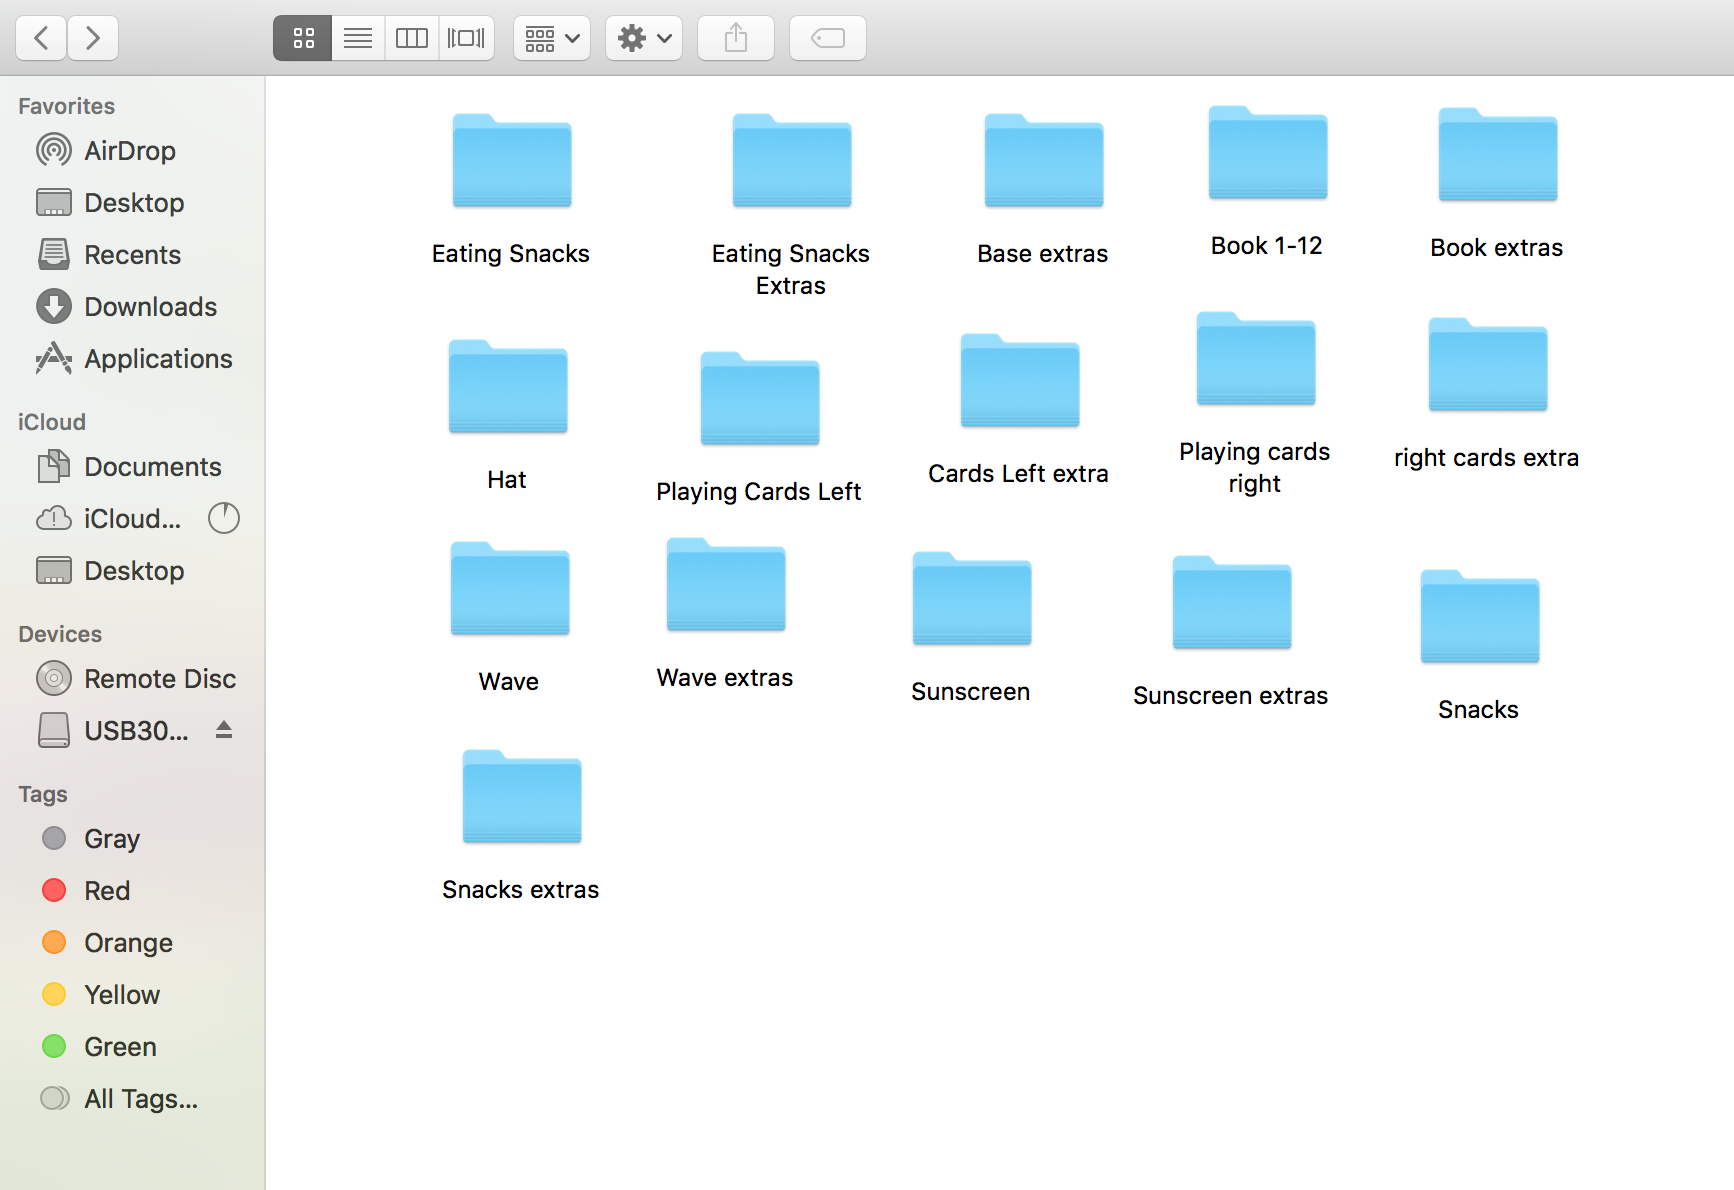
After masking the first photo, I then got disoriented and had to walk through the best way to go about the remainder of the project. After 30 mins or so, Jason and I decided that frontloading the project and being exceptionally organized with naming and importing the files would be most helpful. The tentative plan is for each animation to be approximately 12 frames. The remaining photos for that action are sorted into a separate folder so that they can be easily located if I end up needing them after all.
Hour Eight + Nine: Gif making
Before importing all of the photos into photoshop, I wanted to make sure that each of the photos that I had selected worked well together as a gif and were looping. In order to do this, I made GIFs out of each. Each GIF was made with 12 frames of animation.
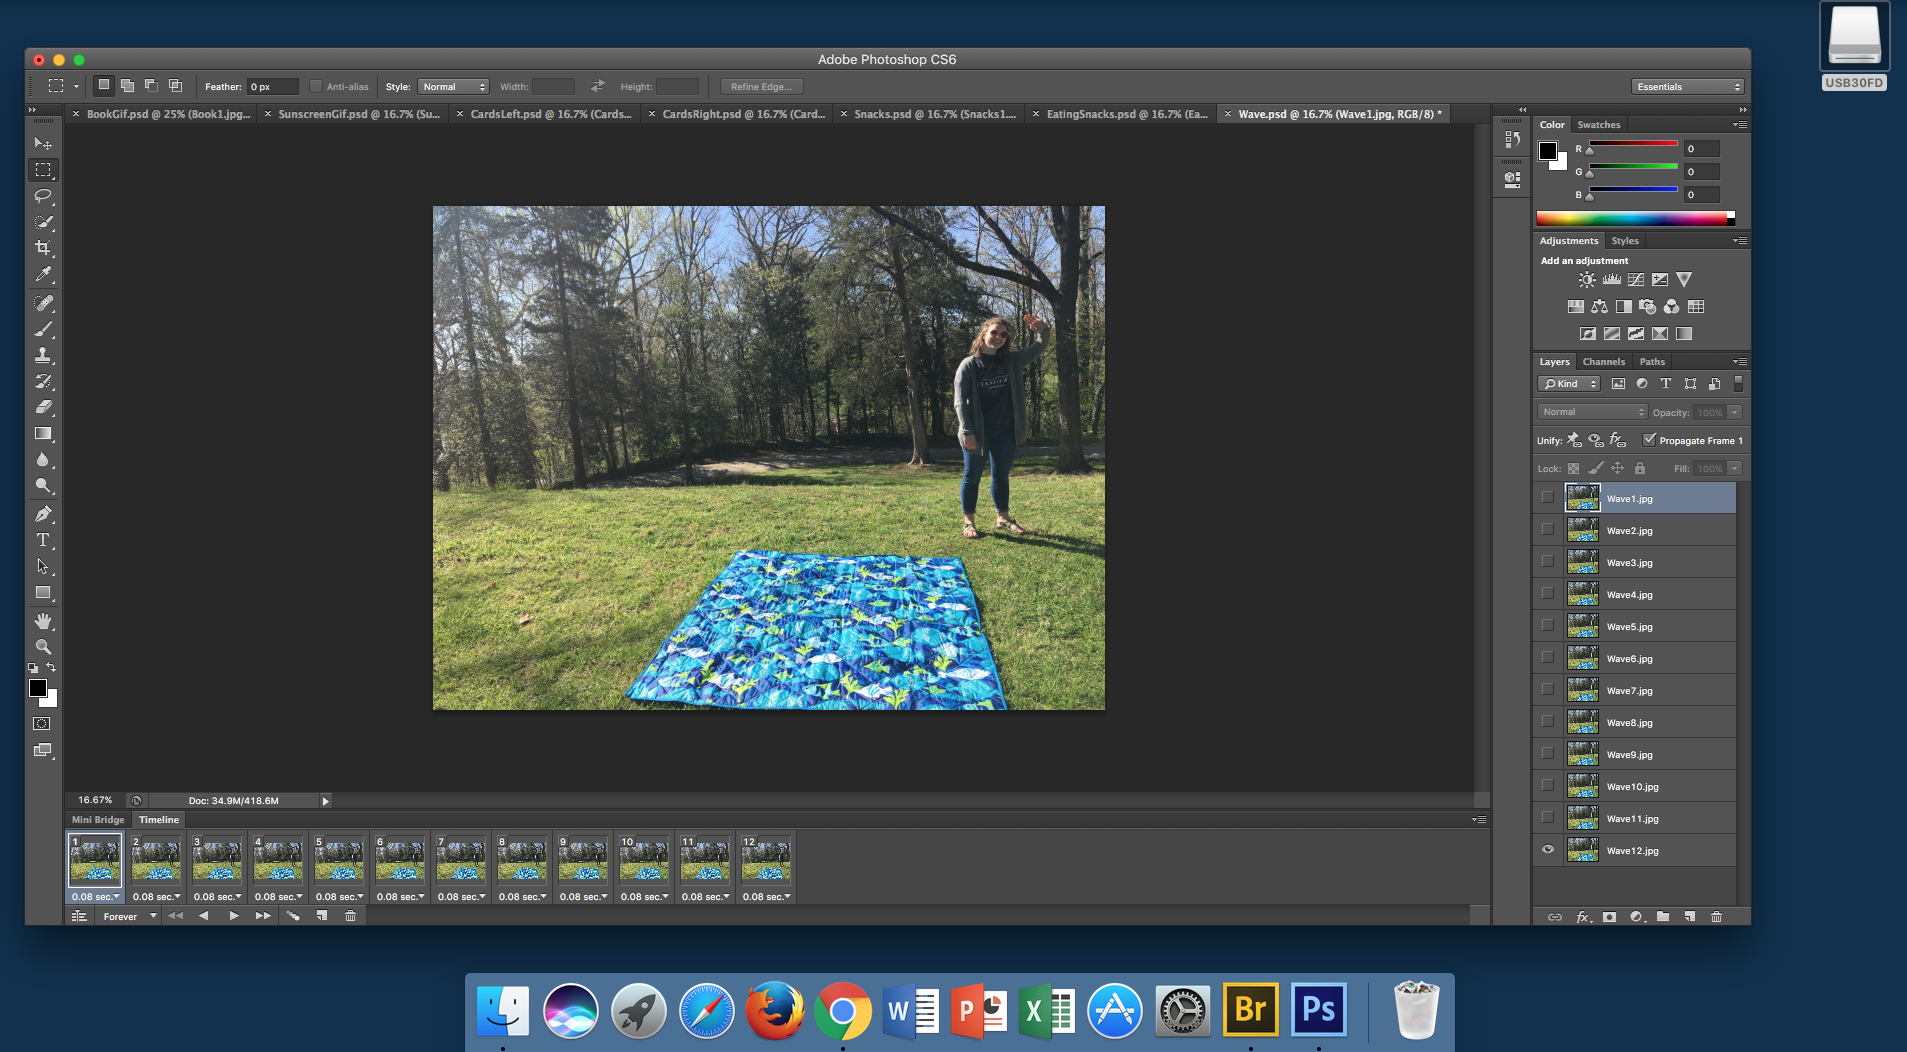
Hours Ten – Eighteeen: Masking, and more masking
During this time, I went through all 60 frames and masked each action. I then moved all of the first frames of each to the first frame of the timeline and continued that process for the remaining eleven. I rearranged some of the layers so that they would sit properly when viewing the final project.
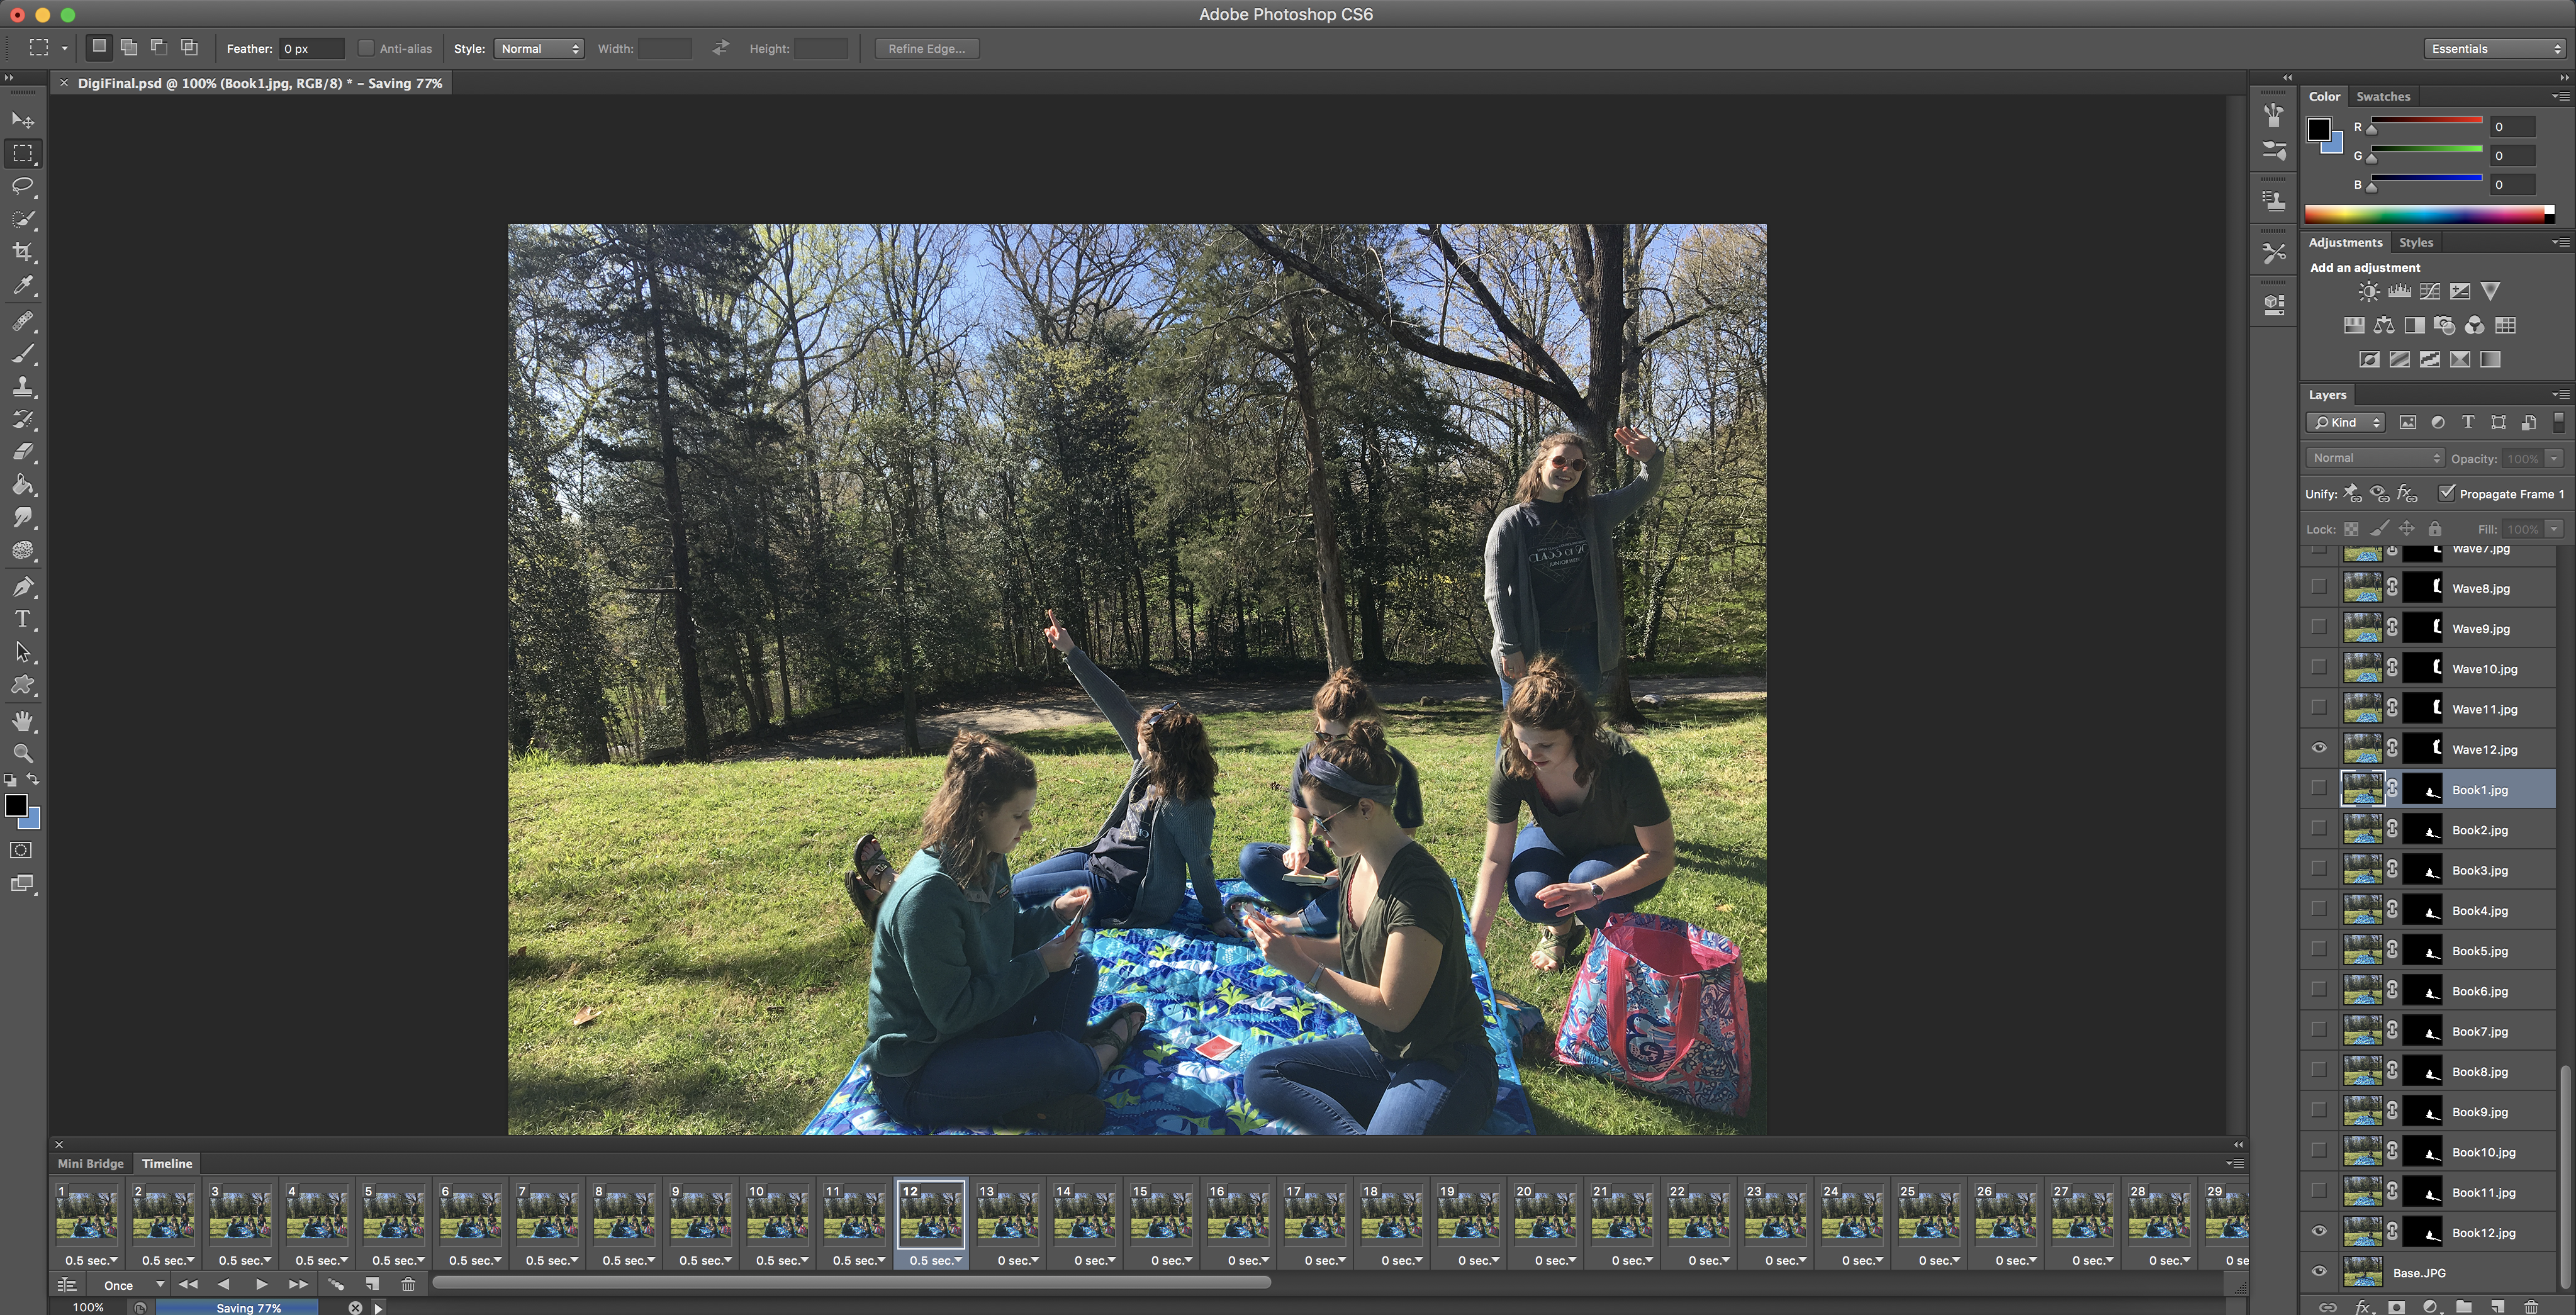
After playing around with it a bit more, I didn’t like the way the unpacking of snacks looked and took that person out. I also cropped the image to help make it a bit more focused. While the masking isn’t perfect, it turned out pretty okay!

Hour Nineteen: Edits
After posting the GIF to my blog I didn’t like the way some of the masking looked, so I was able to snag one of the Surface Pros in the HCC and use that + a stylus to tweak some of the things in the photo.